Love it or leave it on the shelf?
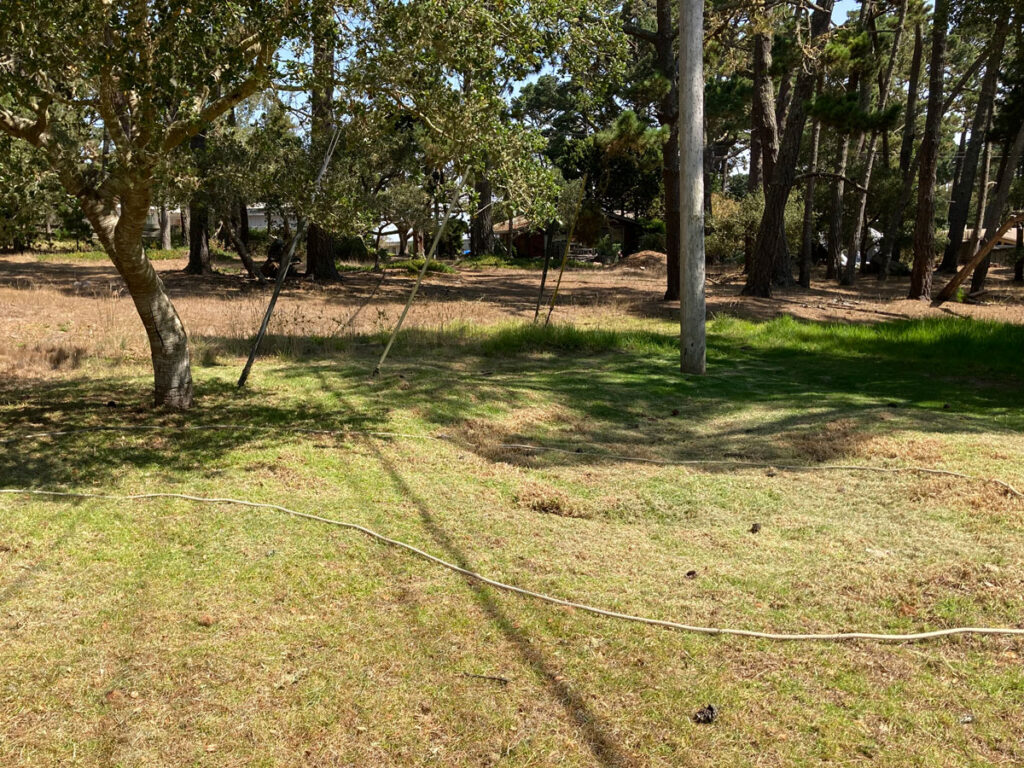
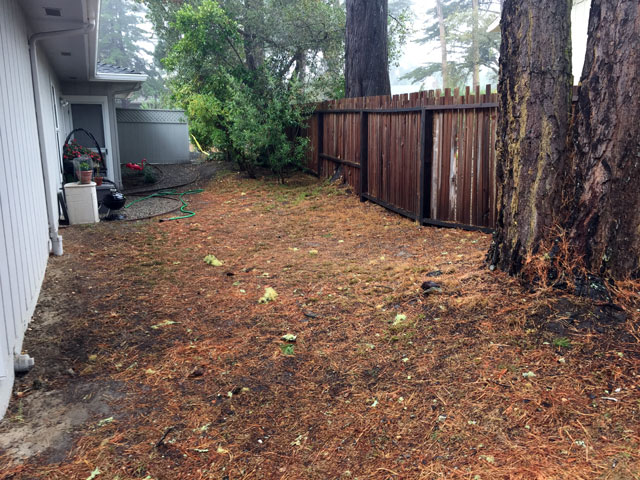
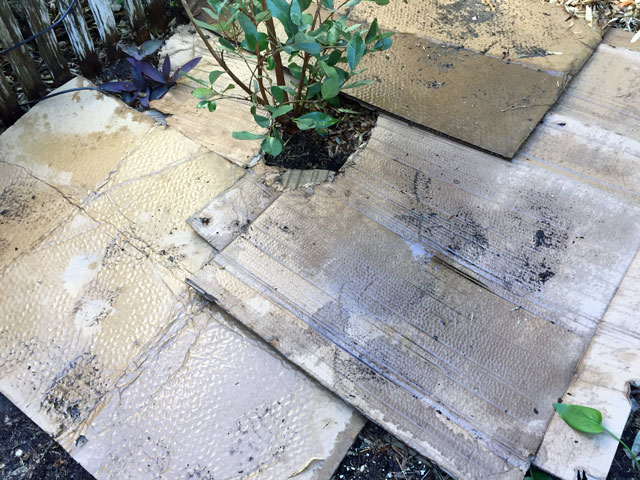
Waving in the wind signaling its defeat, the tattered black plastic weed barrier once promised to end the weeds — but it was all a marketing lie. Gardeners know many weeds are persistent and require several rounds of hand-pull labor to remove in the spring. It’s little wonder that products like weed blocking mesh, barrier cloth and black plastic have great appeal for the overwhelmed gardener. Now that it is summer, the jubilant annual weeds drop their seeds to begin the cycle all over again. It’s time to reevaluate weed control in the garden before the rains return.
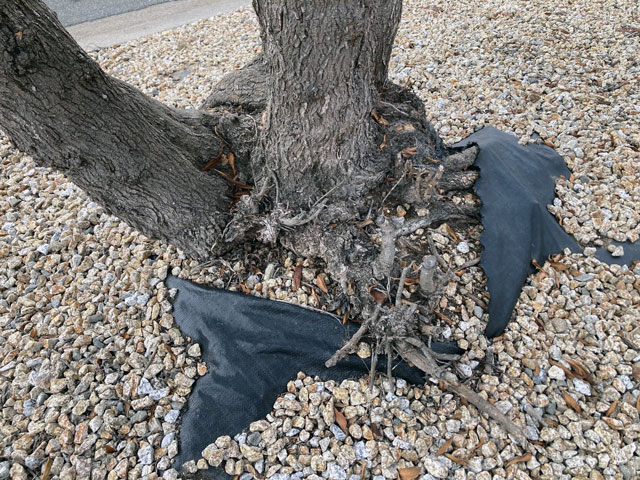
Weed barriers have a dark side that should be understood before committing to the time and expense of installation (and eventual removal). In theory an installed weed cloth, black plastic or barrier fabric blocks the light to emerging weed seeds present in the soil and prevents them from completing germination. The barrier conversely prevents seeds that blow in from the top to establish roots into the soil. Sadly, this blocking feature is only temporary as nature always finds an edge. Seeds may establish through the mesh and fabric materials because geotextile barriers break down over time. When mulch is spread over the materials and mulch begins to break down – weeds will sprout into the top.
But there are even more compelling reasons to skip this method for weed control entirely!
- Landscape barrier materials can prevent winter rains from soaking into soil. All that free water from the sky cannot make landfall and help develop deep roots systems during winter months.
- Soil organisms do not thrive under plastic materials. Beneficial soil communities require moisture and nutrients. The decomposing mulch used on the top of the barrier cannot add nutrients directly to the soil. A lost opportunity to build resiliency in the landscape!
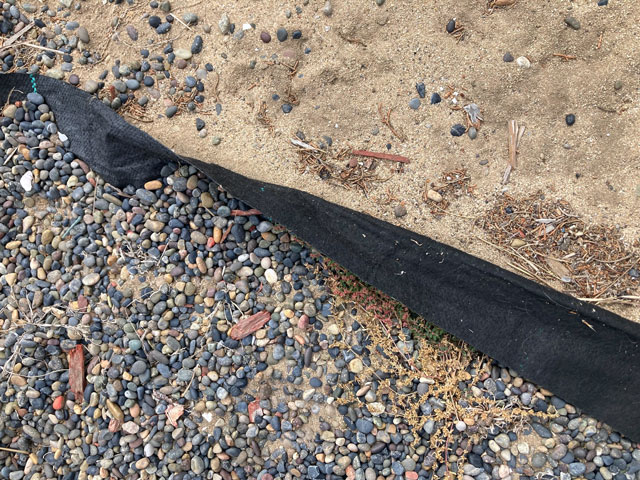
- Fabric barriers lose permeability as pores become clogged with debris. This greatly affects soil and plant health by limiting moisture and air exchange over time.
- Black plastic has NO permeability and should not be used near any plants! There is no benefit to using black plastic film as a landscape barrier.
- Landscape plants with weed block fabrics develop shallower root structures. See previous bullets above.
- Drip irrigation under barriers in soil with poor drainage can encourage root rots. Limited air exchange promotes anaerobic conditions that can support plant pathogens in soil.
- Barrier Materials need continual maintenance. Edges will poke up out of the mulch or require more applications of mulch to cover. Materials will degrade and need to be replaced eventually.
- Becomes a garden space eye sore. No one can deny the tackiness of visible ugly barrier cloth.
- Creates unneccessary plastic waste in the garden. ALL of these materials degrade over time and leave micro plastic and polyester debris in the soil or are sent off to the landfill. Why support this waste stream?
So what is a gardener to do?
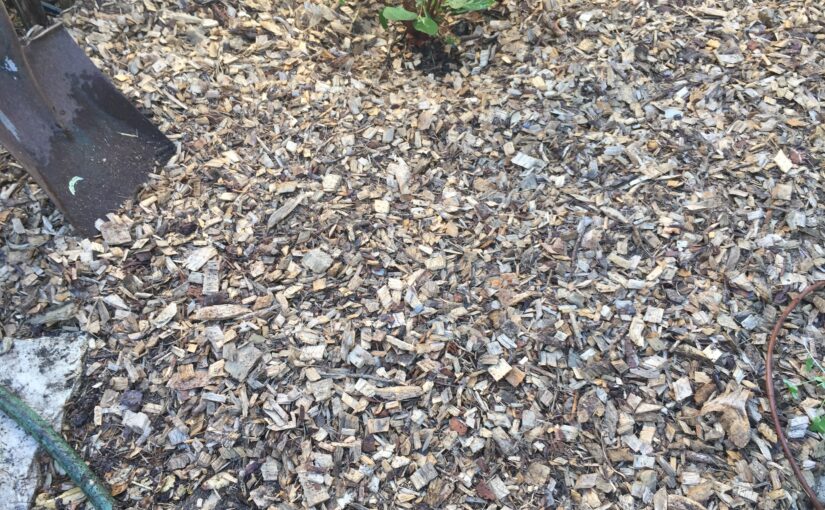
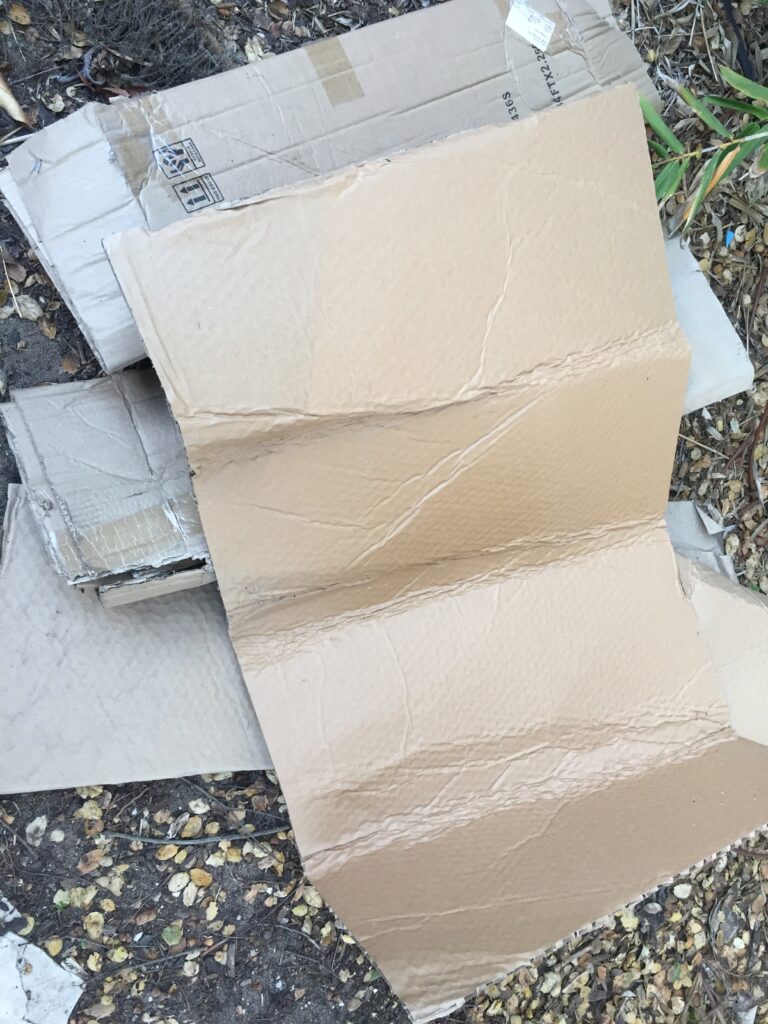
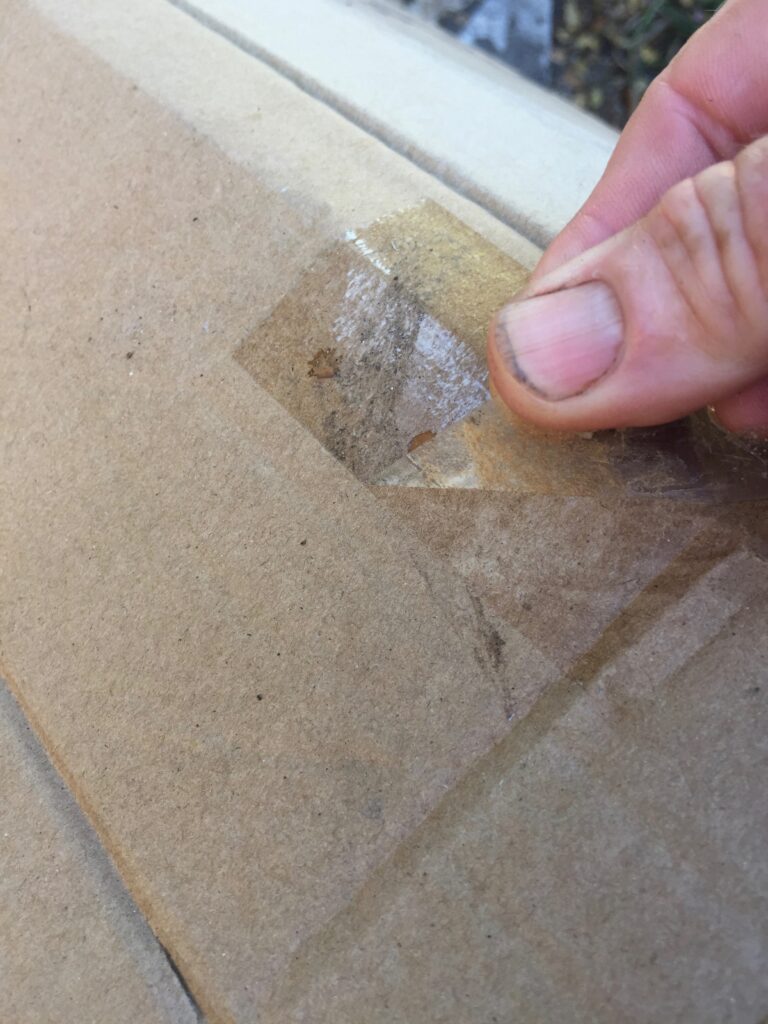
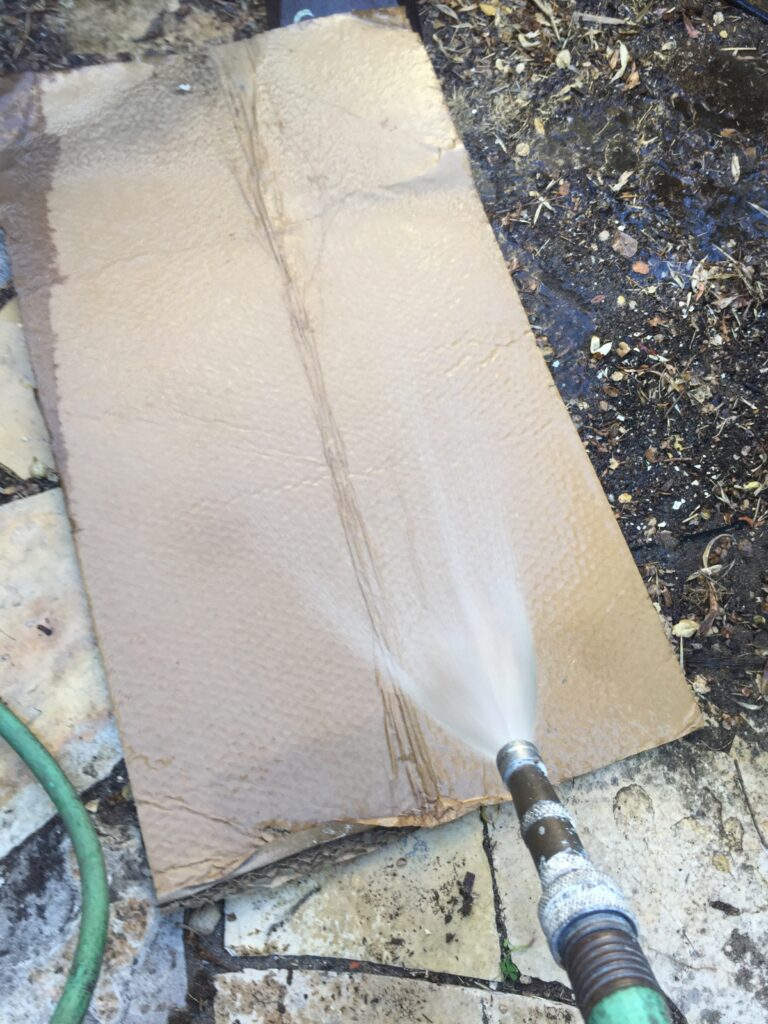
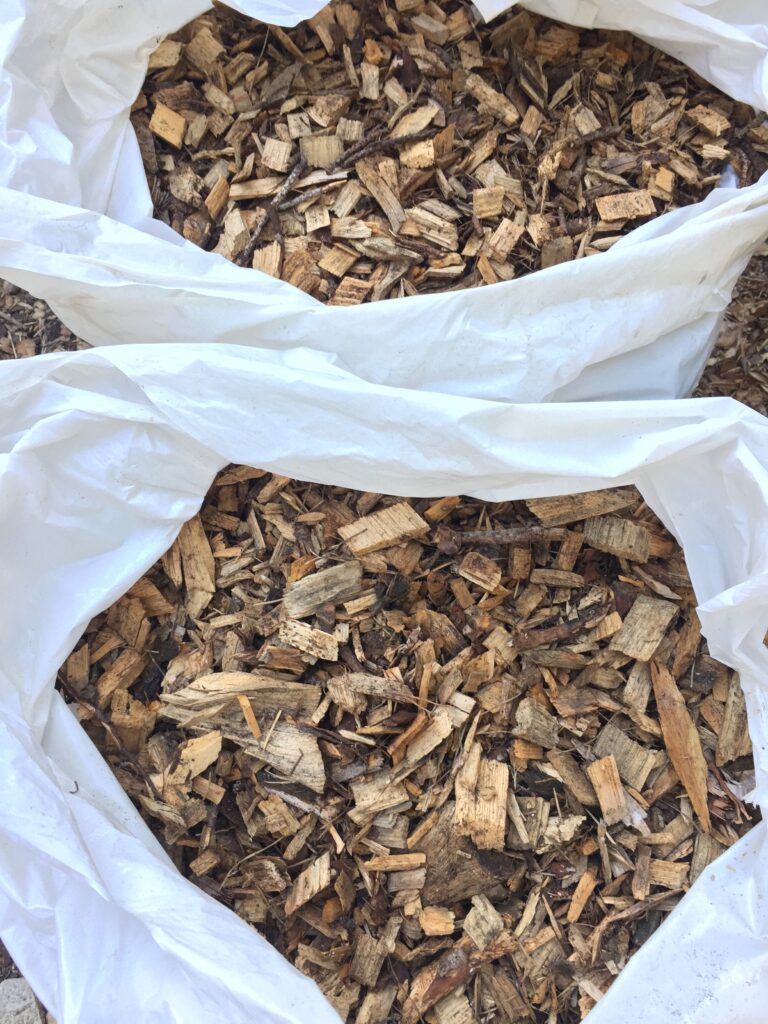
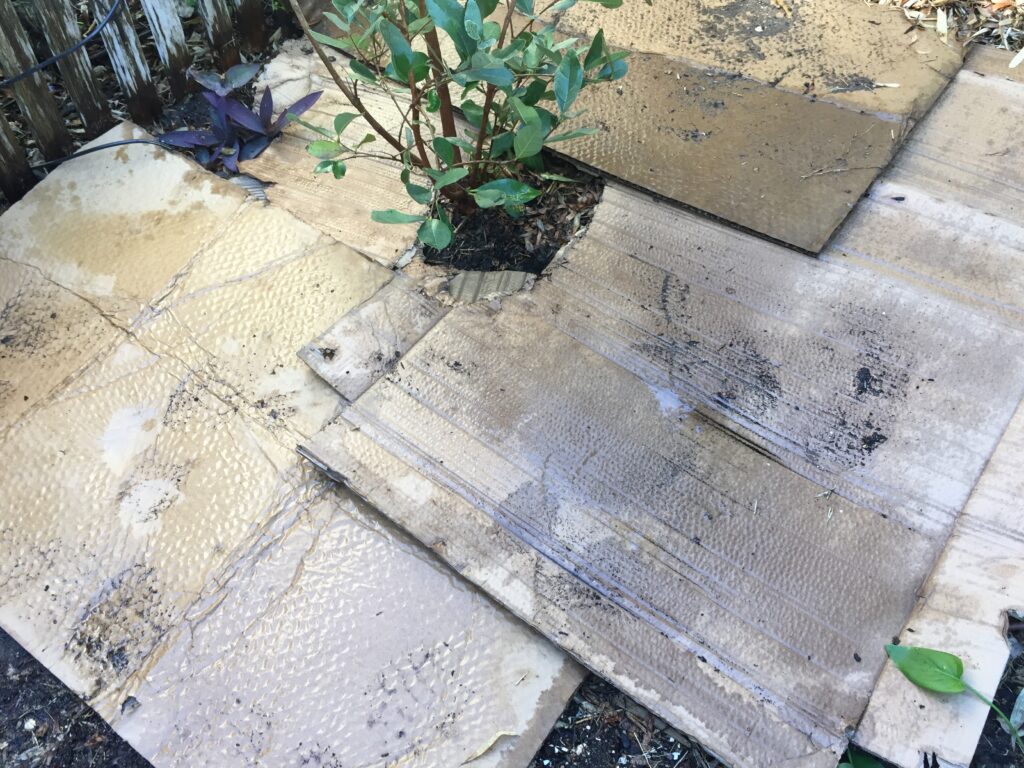
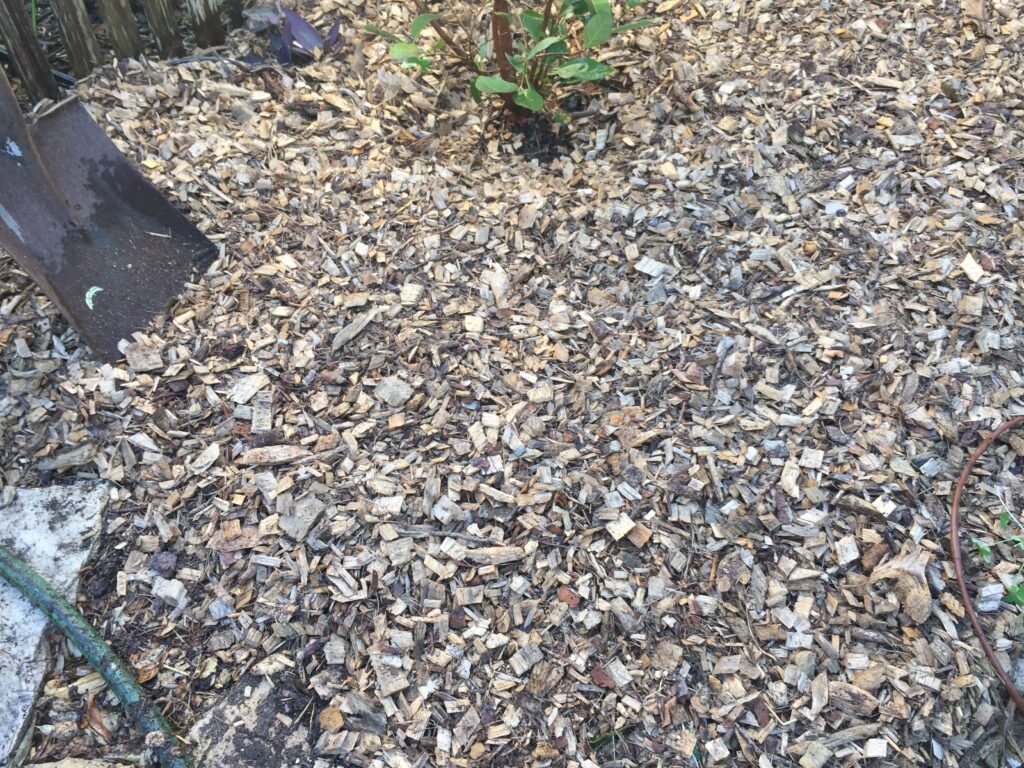
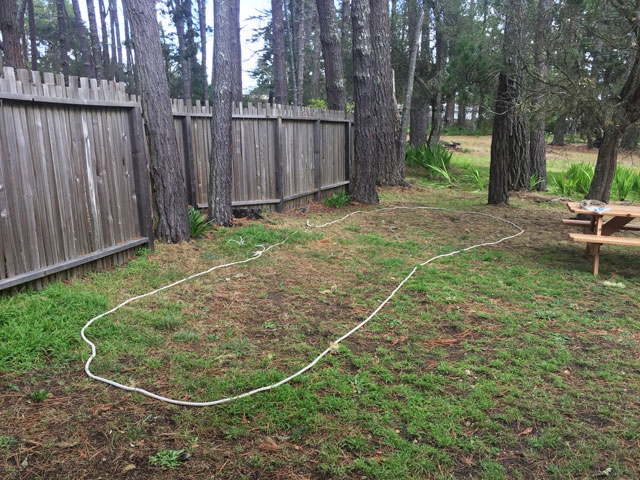
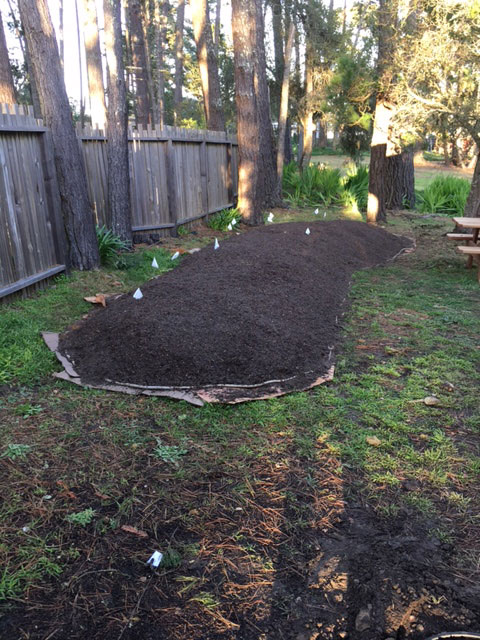
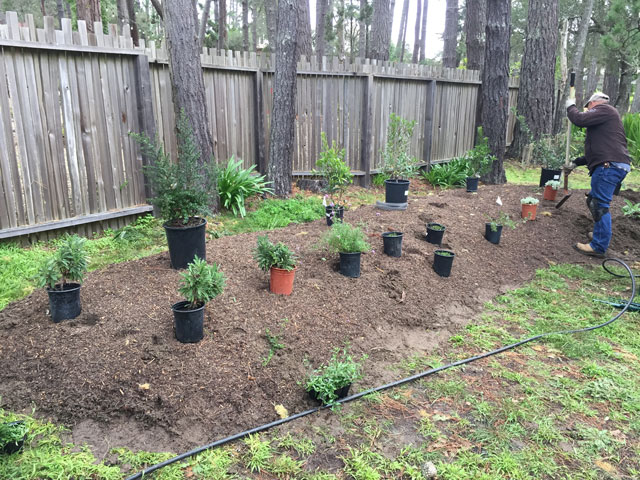
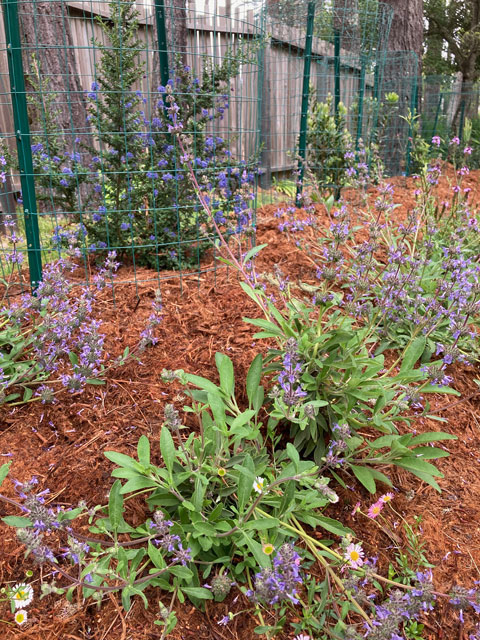
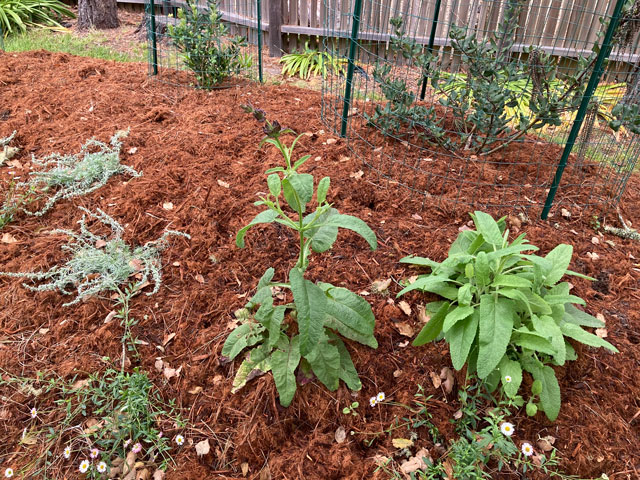
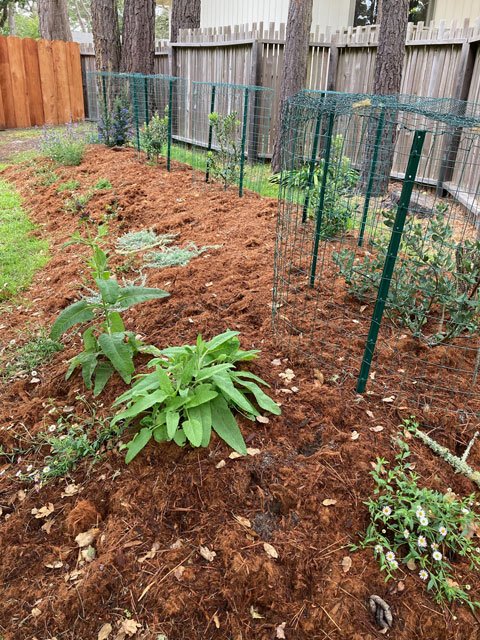
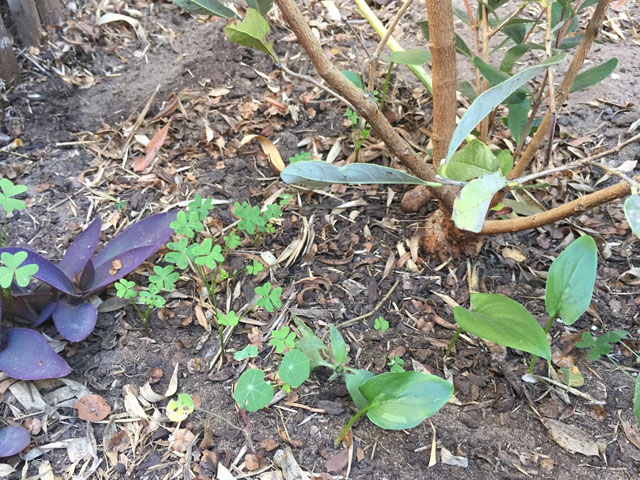
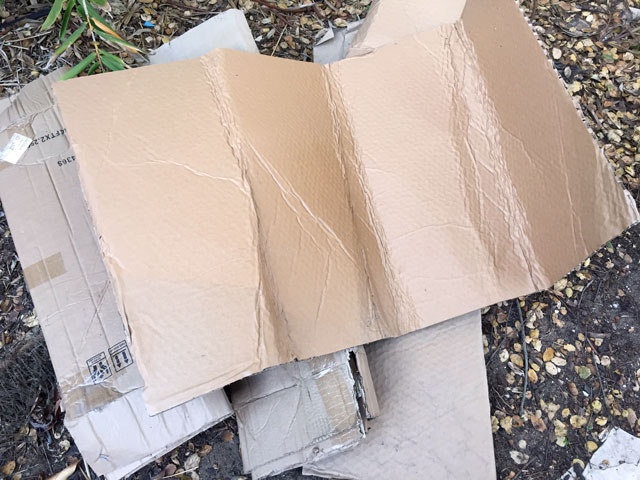
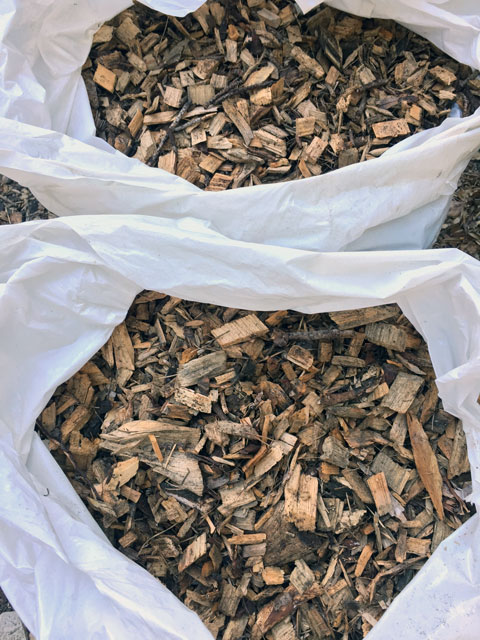
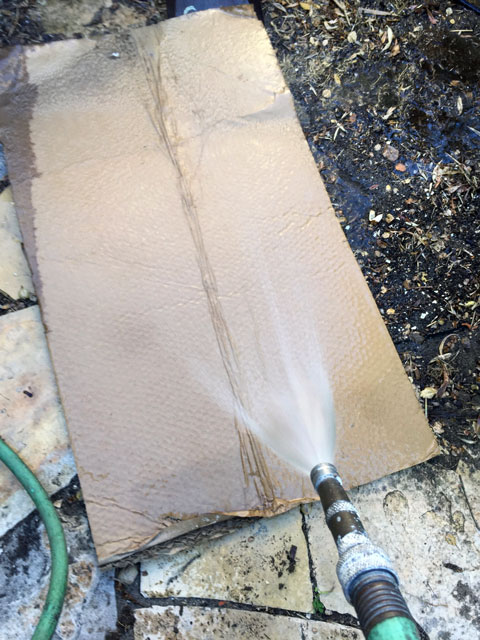
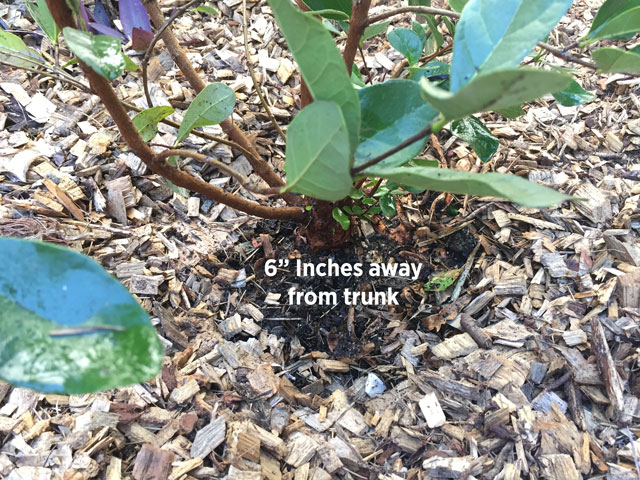
Instead of using synthetic weed blocking products, try sheet mulching. This method uses a layer of cardboard or newspaper as the barrier that is then covered with mulch to block weed seeds present in the soil. Sheet mulching is very useful to apply around existing perennial plantings.
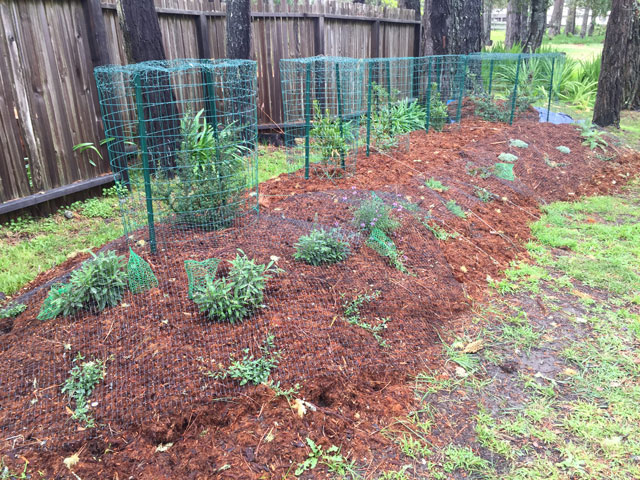
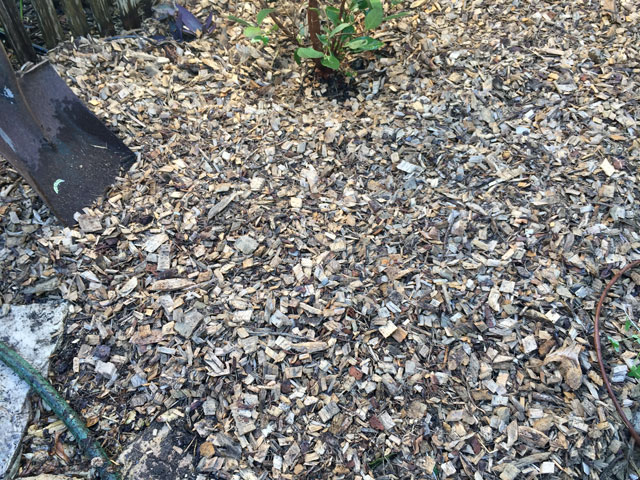
- Annual reapplications of mulch and layers can keep most annual weeds well under control.
- Minimizes areas for seeds to sprout. Weeding is a simplified task.
- Cardboard and newspaper feed soil microbes and are air and water permeable.
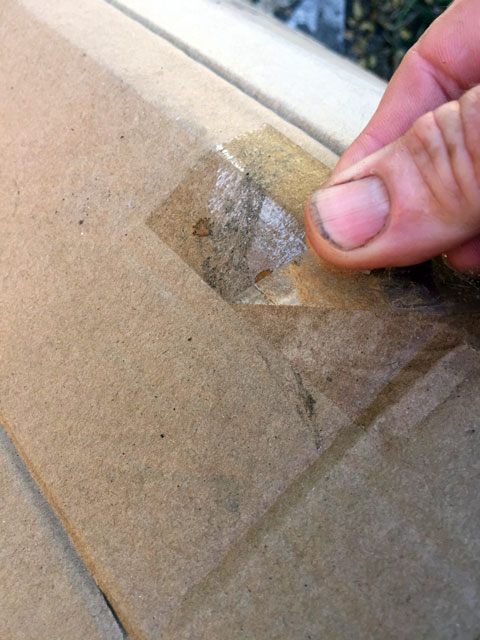
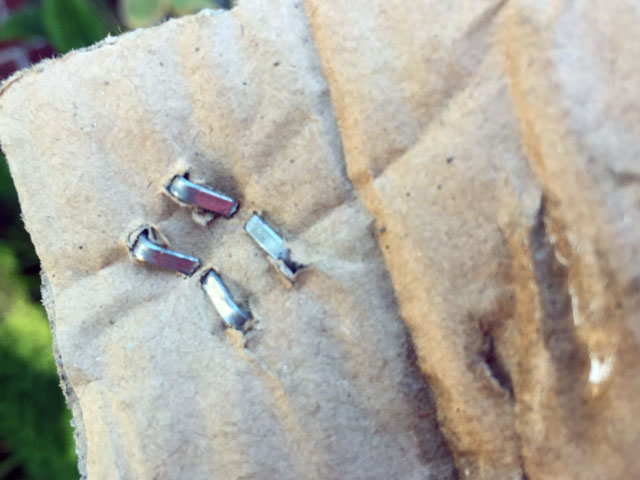
- There is no plastic contamination and waste to contend with if tape and labels are removed from the cardboard.
California Native Plant Society
Employ an integrated approach
The UC IPM website suggests other integrated approaches of weed management that are worth a review (see link below). The use of geotextiles (weed barriers) is described for specific uses here but has a low priority compared to the other methods of management.
A few comments on some of the methods described on the website:
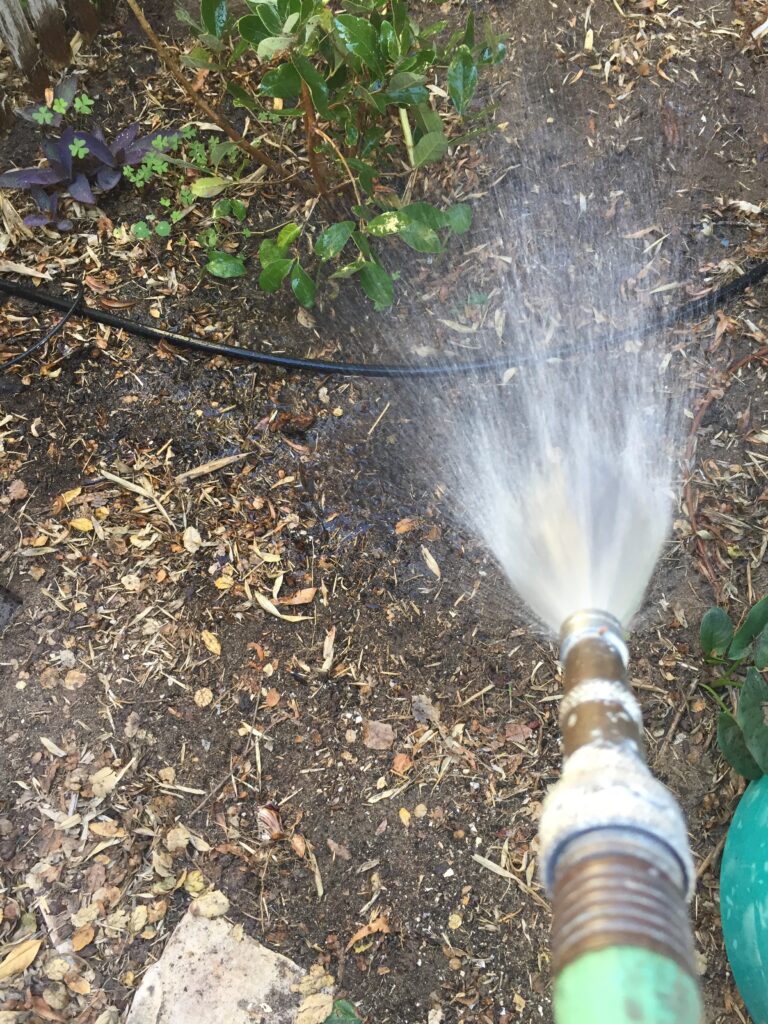
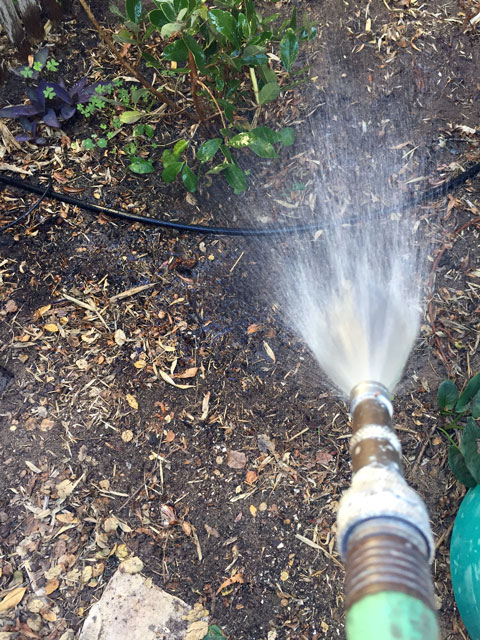
- Exhaust the seed bank. When preparing a new garden area a simple method is to water the soil well. This will cause the seeds stored in the soil to sprout. A hoe is used to scrape emerging seedlings off the soil when very small. Two or three rounds of this treatment will help exhaust the seed bank before beginning to put in a new landscape. This is a tried and true method that works BEFORE the weeds get a toe hold.
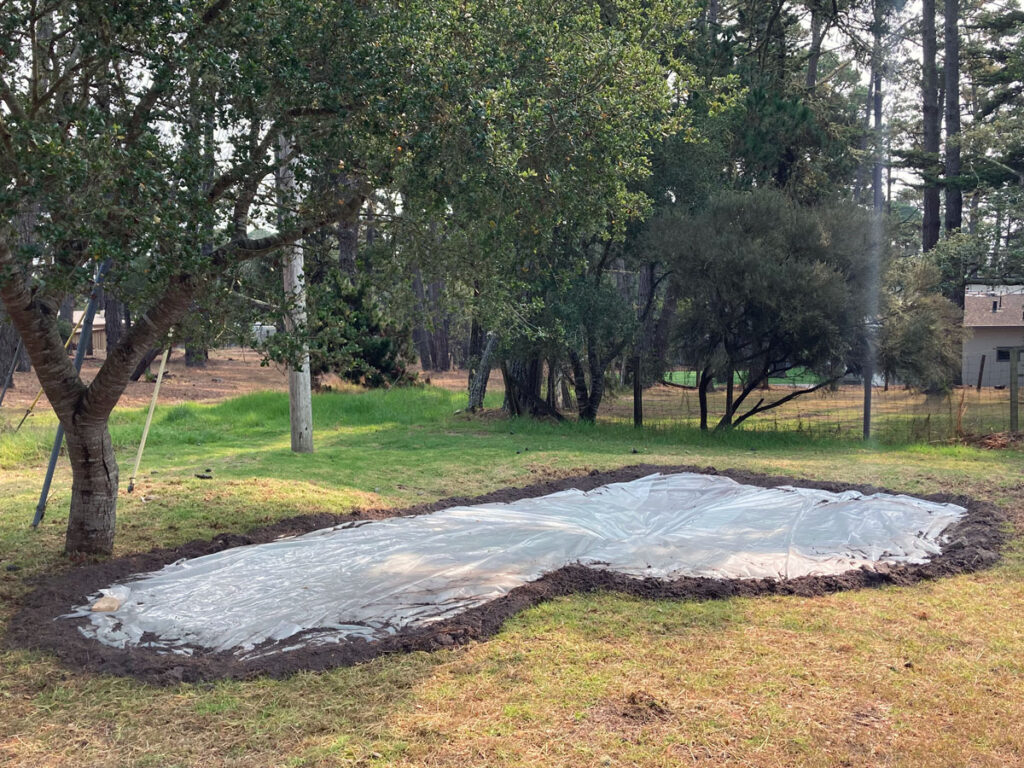
- Soil solarization. Clear 1.5-2 mil plastic (can be up to 4 mil) is used to cover the moistened soil to solarize and burn any sprouting weeds over the spring and summer months. Using some remnant 3 mil plastic this method proved ineffective in our summer coastal climate. An experiment in the fall (during the period of greater solarization) did not render better results for annual weeds and was entirely ineffective on perennial Bermuda grass. Oh for the heat of King City. (And then there was the issue of the plastic disposal for a failed experiment).
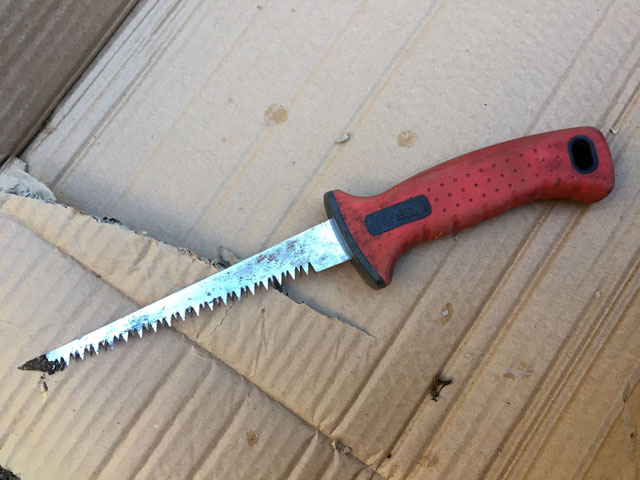
- Hand weeding. This is the most effective way to control weeds but they must be removed before the seeds mature and are viable for next year. Less viable seeds means less weeds next year.
For more methods of Weed Management in Landscapes
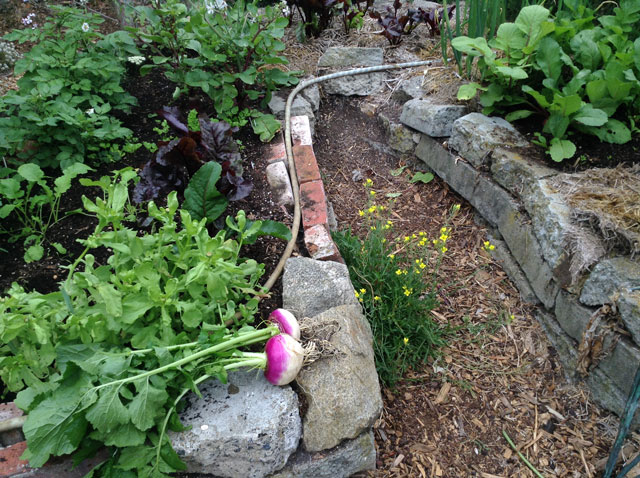
No garden is ever truly weed free. It is really just a dream for most gardeners (and some are known to embrace the weeds). But if managing weeds is a priority—it is not necessary to use weed blocking polyester mesh, polyethylene barrier cloth and black plastic. Is it not preferable to build stronger, more resilient gardens?