This vertical gardening concept has been floating around the internet for a while. I have wanted to make one of these ever since the last drought, and, to stymie the sow bugs that have made a mockery of the strawberries growing in the raised beds. This set up allows for a lot of vertical growing space and includes a vermi-compost tube down the middle to break down food waste and provide nutrients for the growing plants.
The black food-grade HDPE 65 gallon container was spotted at the Last Chance Mercantile – a sign that it was time to put this concept to the test. There were several YouTube videos that showcased the steps required and it seemed like an easy weekend project to take on. In theory… we had all of the materials and tools.
The first step was figuring out how many pockets to make to hold the strawberry plants. I settled on 4 tiers with 7 pockets on each tier = a total of 28 pockets. This barrel is about 35″ tall – a nice even number. Using a carpenters crayon, the 4 tiers were marked out about 7 inches between each row and pockets about 5 inches long with 5.25 inches between pockets. Staggering the slits resulted in the strawberries having some room to drape down without blocking off light to any lower plants.
There was some fudging in measurements as the barrel has some tapering top and bottom and the circumference is widest towards the middle. This barrel was roughly 72-73 inches in circumference. The carpenters crayon could be wiped off with a rag and redrawn if the math needed some adjusting. Setting this barrel on a pair of saw horses took the strain off the old back and made marking and measuring much easier.
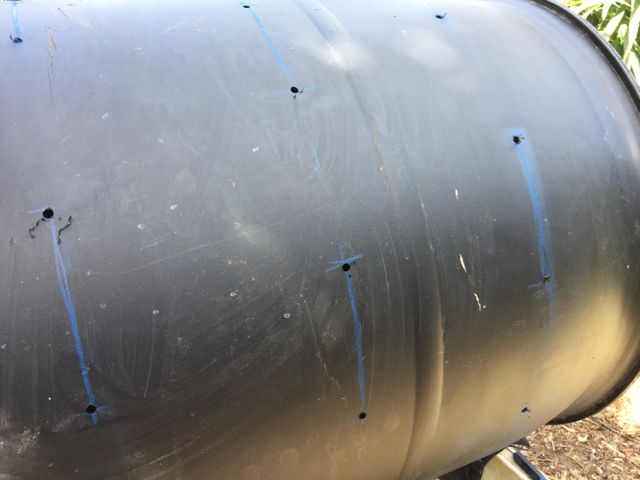
Drilling holes where the electric jigsaw would cut the pocket slit made room to get the blade in place to begin and end the cuts. This part went fairly fast with a new multi-purpose blade.
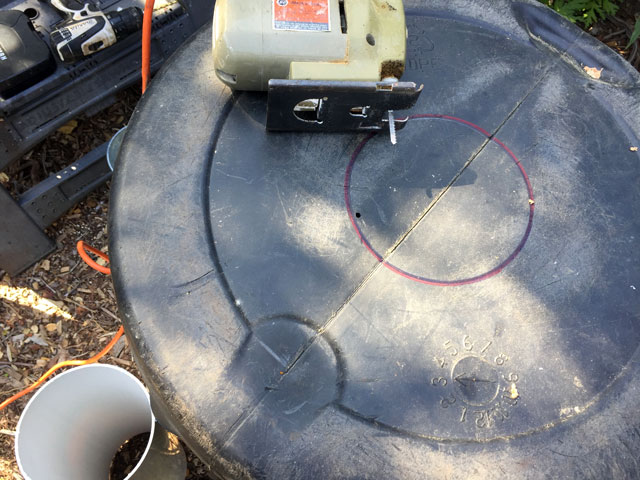
Then the top of the barrel was cut out. Pre-marking with the carpenters crayon made this waaaay easier to follow a line and not get off track during the cut. There is a lot of thick and thin variation in the plastic at the top here, so good to have a clean guideline to follow.
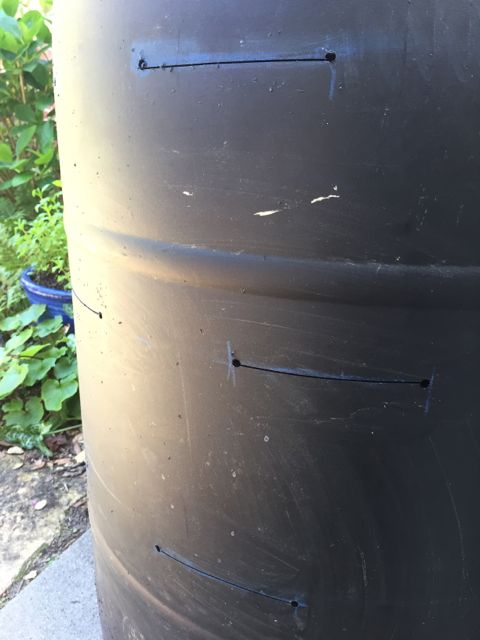
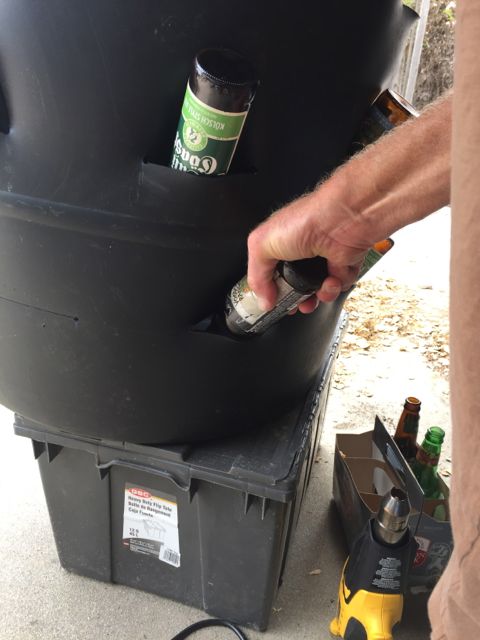
We used a plastics heat gun to soften the plastic around the slits. This took about 3-6 minutes for each pocket – roughly an hour or so to heat and form the 28 pockets. Beer bottles were used to shape the pockets and made a nicer finished curve than using a pointed piece of 2″ x 4″ as seen on some YouTube demos. Using bottles with a tapered neck worked better than a bottle with an abrupt shoulder. Perhaps a wine bottle would have made a bit larger pocket. Worth trying next time.

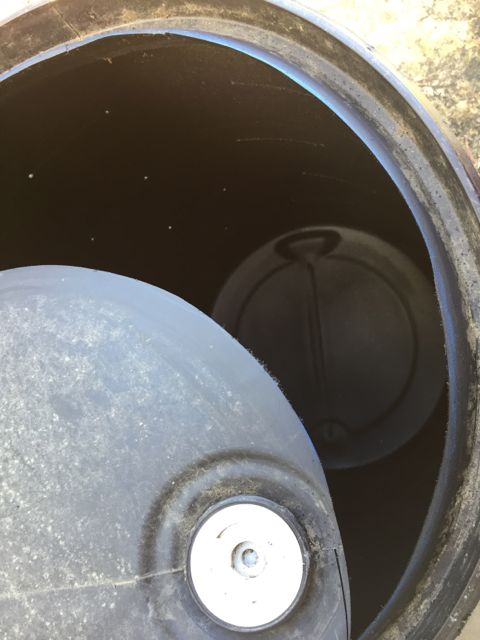
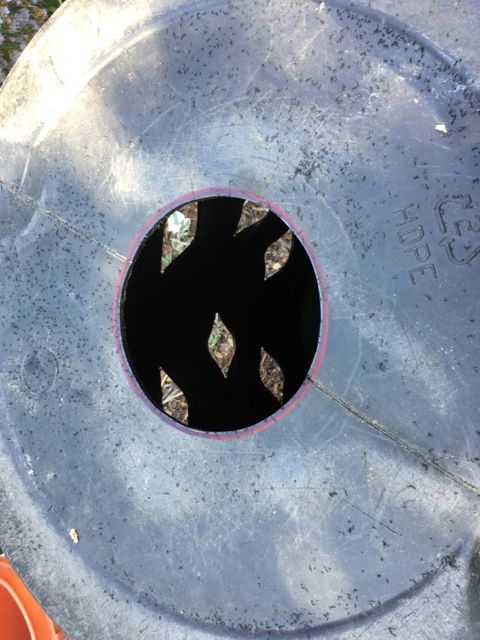
The next step is cutting out the bottom of the barrel to fit the vermi-compost tube into. It was recommended to use 6 inch schedule 40 drainage pipe, but a regular 6 inch PVC pipe was less expensive and readily available at the local irrigation supply store. Trace the outline of the cut using the pipe as a guide and make sure to cut to the inside of the line. This needs a snug fit to the 6 inch pipe and it is easier to sand a bit to remove material than to have to use glue or some other after-the-fact fix.
Using some of the extra pipe (They only sold in 5 foot lengths) I fashioned a collar that fit the pipe into the hole (so it does not slip through). I cut a 2″ section and cut open the ring so it would slip around the out part of the pipe. Regular purple PVC pipe glue attached the collar on fast and easy. Many 1/4- 3/8″ holes were drilled into the 6 inch pipe for worms to move from compost to soil and back again. Then sanding was employed on the sharp edges from the drill holes so as to not cut the worms later.

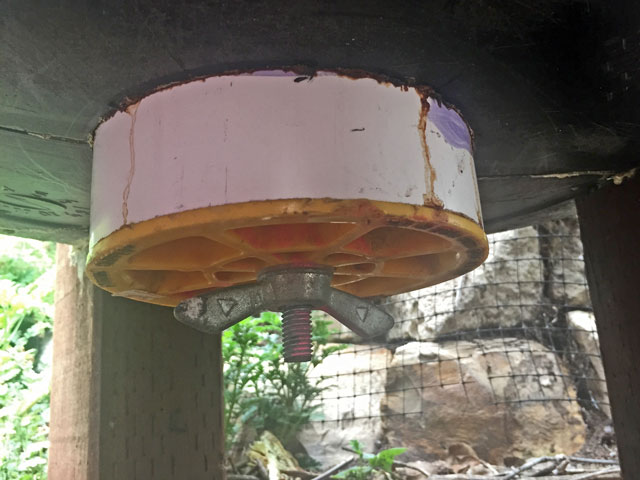
The last part was building and attaching the legs, which I decided needed to be sturdier than seen on the web so there would be better stability in our sandy soil. I used a router, which was tedious, messy and the wrong tool for the job. Doing this again would be much easier using a band saw to cut the curve in the thick wood. Another issue was that the lower odd numbered pockets interfered with attaching the legs equally apart. Should have adjusted for the quarterly leg placement when marking out the lowest pockets for a better fit. Stainless steel bolts (to resist corrosion) were used to attach the legs with large stainless steel washers to prevent plastic tear out from weight stress. Lining up the holes from the pre-drilled legs and attaching to the barrel was a bit of a chore because of the funky fit (pockets in the way). We used Gorilla Glue which helped fill the irregular voids between the plastic and the wood. It expands a bit as it dries and really gave a good seat for the barrel on the pressure treated wooden legs. Drainage holes (3/8″) were drilled into the bottom randomly after the legs were attached. The barrel has great stability on the stout legs – even filled with soil.
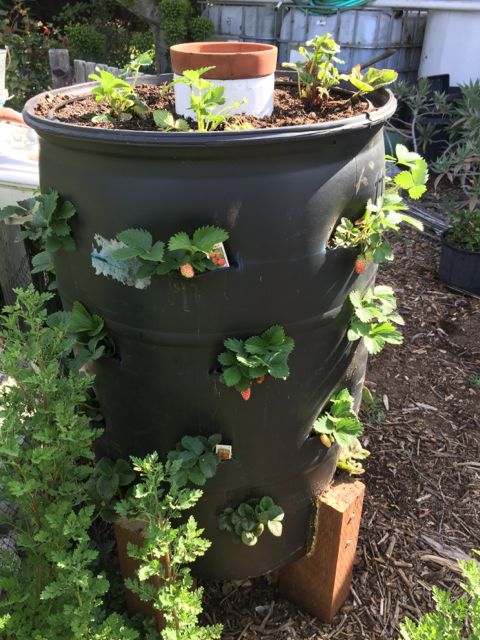
A 6 inch plumbers test plug goes into the bottom of the pipe to seal off the vermi-compost tube and allow for occasional clean out of the compost tube. Home Depot had a $16 – 6 inch plastic version that was ordered online. Since no actual pressure—other than gravity—is employed here, this was satisfactory. I later found a 6″ PVC cap at Habitat for Humanity to replace the terracotta pot shown above, but the pot would have been fine for the top too. Maybe plug the hole on the pot in case sow bugs move into the compost and come out of the tube to feast at night. Grrrr….
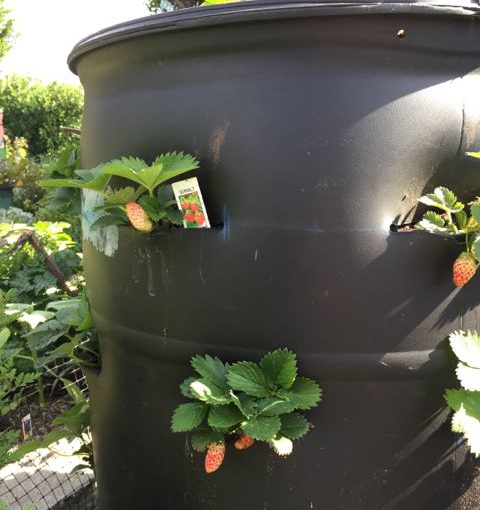
Some of the strawberries were transplanted from a not-so-productive raised bed and were ‘Sequoia’ and ‘Albion’ ever-bearing varieties. The rest were another ever-bearing variety called ‘Quinault’ that will fruit on an un-rooted runner. What a perfect variety for a hanging vertical container! Those fruits have been small, abundant and very sweet. The black plastic barrel, in this coastal climate, will help keep the season going longer. A hotter climate would probably be better served using a white or blue plastic so as not to cook the worms!
The strawberries were planted in with good home compost which was mixed with a little of the native sandy soil. There was a bit of settling of soil in the lower pockets and I had to go back in with a spoon and adjust (lift and add soil) the crowns of the strawberries so they are not below grade (causes rot). I may end up enlarging the drainage holes at the bottom too or add more holes since the soil stays fairly moist now that it is planted. Perhaps a sandier soil mix at the bottom two tiers would have helped the drainage too? A small amount of food waste has been added into the vermi-compost tube but not enough (yet) to add the worms.
Did this project get done in a weekend? No, but none of the steps were terribly hard or time consuming when broken down into mini-projects. The resulting barrel promises to be very productive and might inspire a second unit for growing vertical shallow rooted greens. Stay tuned!